
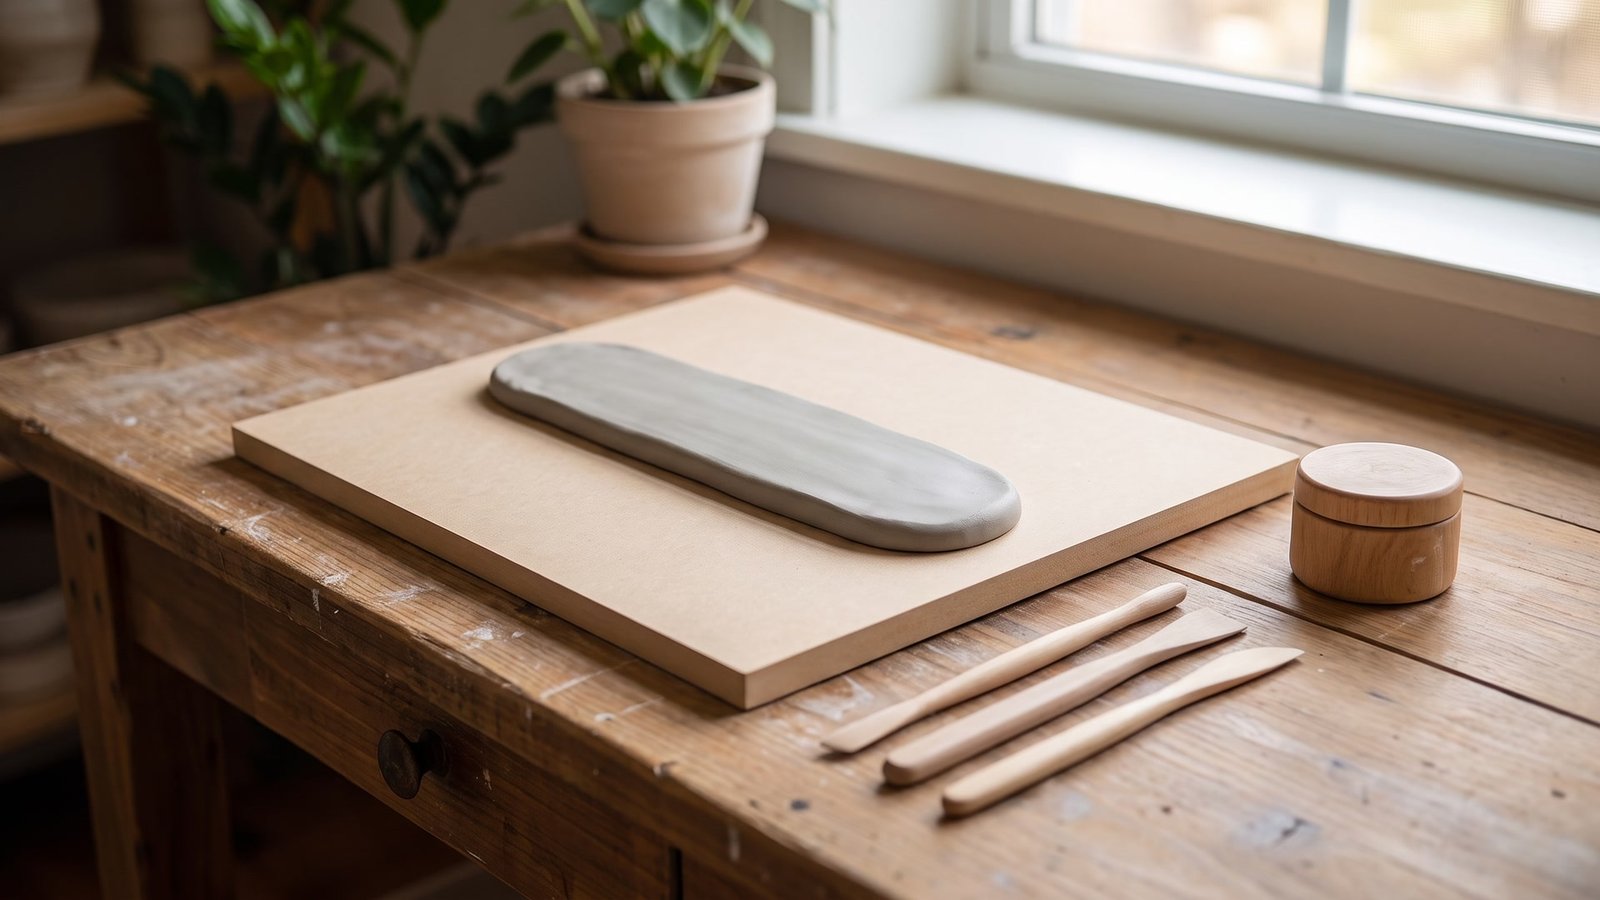
Store-bought name plates are either boring or weirdly expensive. You walk past the same plain brass sign every day, and it doesn’t feel like your home at all.
So let’s make one. A clay name plate with your family name, a few flowers or leaves, and colors you actually like.
Here’s what “done” looks like. A sturdy board with a raised clay border, the name in chunky letters, some little decorations, all painted and sealed so it can hang by your front door.
It’s not a one-hour craft, I’ll be honest. Plan for about two or three short sessions spread over a few days, mostly because clay and paint need time to dry.
You don’t need to be an artist, though. If you can roll a snake of clay and hold a paintbrush, you can do this.
This guide is for anyone who wants a handmade sign for their door, a kid’s bedroom or even a little home office. I’ll walk you through it in the order you’d actually do it.
Pick Your Style First
Before buying anything, think about the look you want. It’s so much easier to plan the supplies once you know the style.
A floral name plate is the most popular one. The name sits in the middle with flowers and leaves climbing around it, and it looks warm and welcoming on almost any door.
A little house shape is really sweet too. The board is cut like a tiny home with a pointed roof, and you can add a clay door, windows and even a tree beside the name.
If you like clean and simple, go minimal. Just the name in neat raised letters with a thin border, painted in two calm colors like white and sage.
And if you love sparkle, try a mirror style inspired by Lippan art. Small mirror pieces pressed into the clay around the name catch the light every time someone walks past.
Kids’ rooms are a fun place to start, honestly. A name with stars, a rainbow or a little dinosaur is less pressure than your front door, and kids love helping.
How Long This Takes
Plan for the drying, not the making. The hands-on work is maybe three or four hours in total, but it’s spread out over a few days.
Day one is the board, the sketch and all the clay shaping and gluing. Then it needs at least a full day to dry, sometimes two if your room is cool or humid.
Day two or three is painting, which you’ll do in a few layers with drying time between them. The last day is sealing, and then one more day before you hang it up.
What You Need
Get everything together before you start. There’s nothing worse than having sticky clay on your hands and realizing the glue is in another room.
The main thing is air-dry clay. It’s soft, easy to shape and dries hard on its own without an oven, so it’s perfect for this.
For the base, you need a piece of MDF board. MDF is a smooth, flat wood board that’s easy to paint, and most hardware stores will cut it to size for you if you ask nicely.
Credit ‐ Jescia Hopper
The video above is a quick intro to basic clay tools, if you’re not sure what all those little sticks and loops are for. You honestly don’t need all of them, but it helps to know what’s what.
Here’s the rest of your list. A rolling pin, a ruler, a craft knife, and one or two shaping tools, though a toothpick and a butter knife can stand in for those.
You’ll also need strong glue to stick the clay to the board. The original tutorial uses fabric glue, and a thick white craft glue works too.
For painting, grab acrylic paint in the colors you want, plus white for a base coat. Some people like chalk paint for a soft matte background, so use it if you have it.
Finally, get a clear varnish or sealer, a few paintbrushes, some talcum powder or cornstarch, and something to hang it with. That’s it.
Buy a little more clay than you think you need. Running out halfway through and opening a new pack that’s a slightly different shade is really annoying.
Quick Prep
Clear a table and cover it with a plastic sheet or an old placemat. Clay leaves little crumbs everywhere, and you’ll be glad you protected the surface.
Dust your work area lightly with talcum powder or cornstarch. It stops the clay from sticking to the table and to your rolling pin, which saves a lot of frustration.
Keep a small bowl of water and a damp cloth nearby. A tiny bit of water helps smooth cracks, but too much makes the clay slimy, so go easy.
And open your clay only when you’re ready. Air-dry clay starts drying the moment it hits the air, so keep the rest wrapped tightly in plastic.
One more trick that helps a lot. Type the name on your computer in a font you like, print it at the size you want, and keep it next to you as a guide for the letters.
The Steps
Step 1. Prepare Your Board and Sketch the Layout
Start with the board. Decide how big you want your name plate, then have the MDF cut to that size, or cut it yourself if you have the tools.
Most door name plates look good somewhere between a shoebox lid and a small poster. Hold a piece of paper that size against your door to see what feels right before you cut anything.
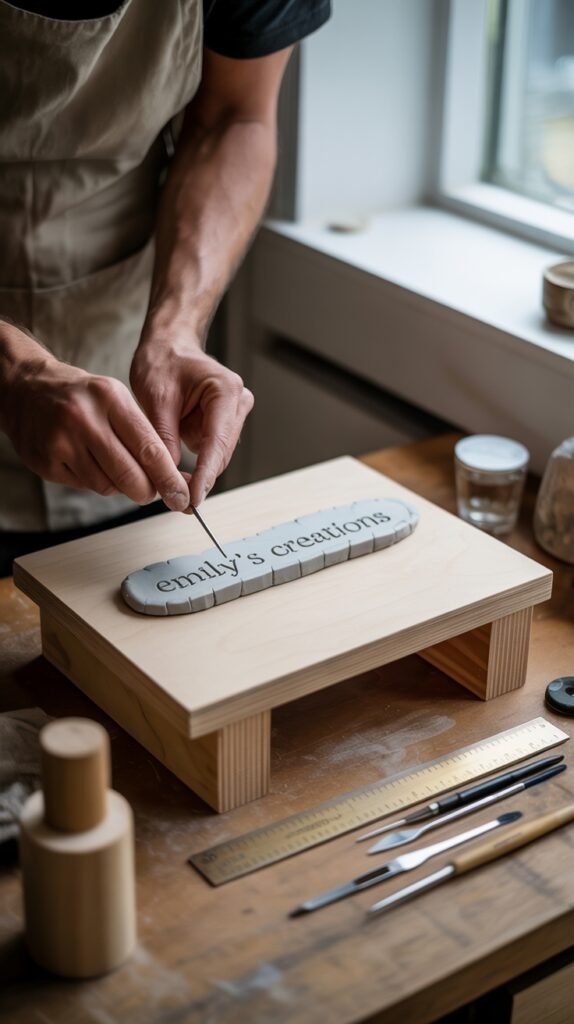
If you want a fun shape, like a little house with a pointed roof, you can join a few MDF pieces together. A carpenter or a hardware store can help with the angled cuts.
Now grab a pencil and sketch your design on paper first. Write the name, then draw where the flowers, leaves or border will go, and move things around until it feels balanced.
If you plan to hang it with picture hooks, screw two small D-ring hangers onto the back of the board now. It’s much easier before the front is covered in delicate clay.
Sand the edges of the board lightly so they’re smooth. Then wipe off all the dust, because glue and paint don’t stick well to a dusty surface.
If your board is going on an outside door, paint the back and the edges too, not just the front. Bare MDF soaks up moisture like a sponge and can swell over time.
Here’s the warning. Cutting MDF makes very fine dust, so wear a mask and do it outside or let the store cut it for you.
This step is finished when you have a smooth, clean board cut to size and a paper sketch you’re happy with, sitting right next to it.
Step 2. Roll and Shape the Clay Pieces
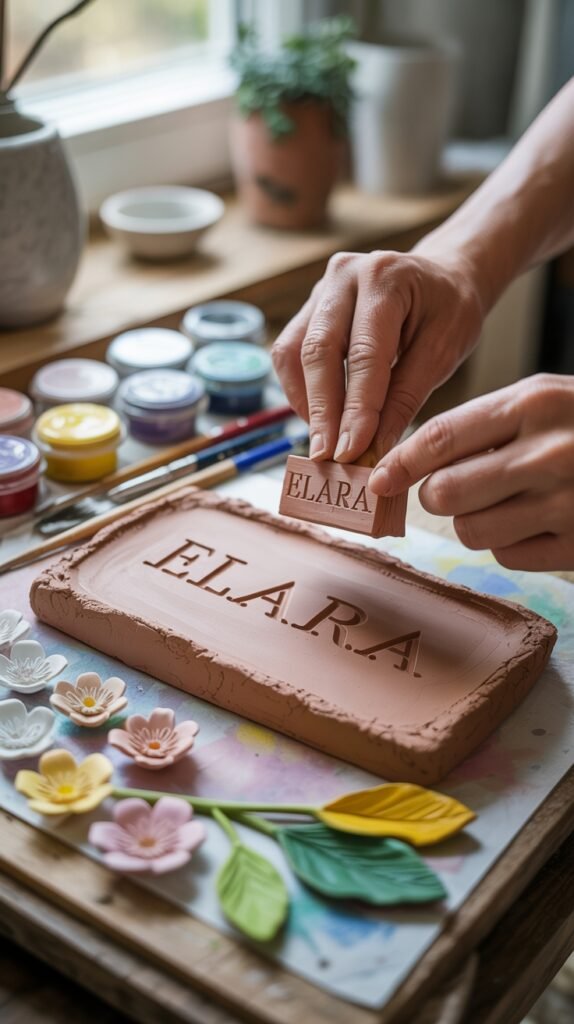
This is the fun part. You’ll make all the clay pieces now: the border strips, the letters and the decorations.
Roll your clay out flat and even with the rolling pin. Then use the ruler and craft knife to cut long, thin strips for the border around the edge of the board.
Credit ‐ CrazyCanvasStudio
The short video above shows a bright, colorful name plate made for a front door. It’s a great one to watch before you start, just to get a feel for how the pieces come together.
For letters, roll thin snakes of clay and bend them into shape, or cut them from a flat slab with the knife. Keep them a little chunky, because thin letters crack easily as they dry.
To keep the letters straight and the same height, draw two light pencil lines on the board as a guide. Then shape each letter right on top of your printed or sketched name so the size matches.
For leaves, roll tiny balls, pinch them into cone shapes and flatten them a bit. For flowers, roll small petals and layer them around a center, then press lines into the leaves with a toothpick so they look real.
Want a tree or a thick branch? Twist three thin strips together and it suddenly looks like bark. Just don’t make any piece too thick, or it’ll stay damp inside and crack later.
You’re ready to move on when every piece from your sketch is made and laid out on a sheet of parchment. Count them against the sketch so nothing gets forgotten.
If the clay starts cracking while you shape it, it’s getting too dry. Wet your fingertip, rub the crack gently and keep working, then wrap the leftover clay again.
Step 3. Attach the Decorations to the Board
Before you glue anything, lay all your clay pieces on the board to check the layout. Look at your paper sketch and make sure the name isn’t hiding behind a big flower.
Once you like it, start with the border strips around the edge. Then add the letters, and finally the leaves and flowers around them.
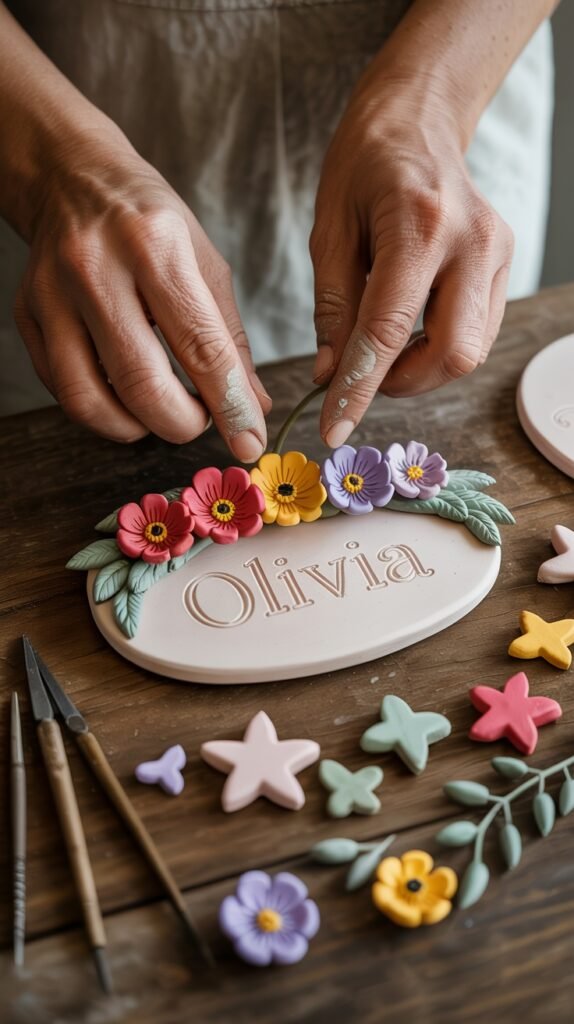
Spread a thin layer of glue on the back of each piece and press it down gently. Don’t press too hard, or you’ll squash all the little details you just made.
If a piece keeps sliding, push half a toothpick into the clay and into a tiny dab of glue on the board. It works like a little pin and holds it while everything dries.
If you’re doing a symmetrical design, work from the middle out. Imagine a line down the center of the board and try to match both sides.
Use a damp brush to blend the edges where each piece meets the board. Those little seams are where water sneaks in later, so smooth them down as much as you can.
Now leave it to dry, at least 24 hours, and longer if the pieces are thick. I know it’s tempting to paint right away, but wet clay under paint is how cracks happen.
You’ll know it’s ready when the clay feels hard, looks lighter in color and isn’t cool to the touch anymore.
So by the end of this step, everything is glued in place, nothing slides when you tilt the board, and it’s had a full day or more to dry.
Dry it flat in a cool spot, out of direct sun and away from heaters. Drying too fast is one of the main reasons pieces curl up or crack.
Step 4. Paint Your Name Plate
Start with a white base coat over the whole thing, board and clay. It’s like a clean sheet of paper, and it makes your colors look brighter later.
Once the base is dry, paint the background color. Soft yellow, sage green or a pale blue all look really nice on a front door.
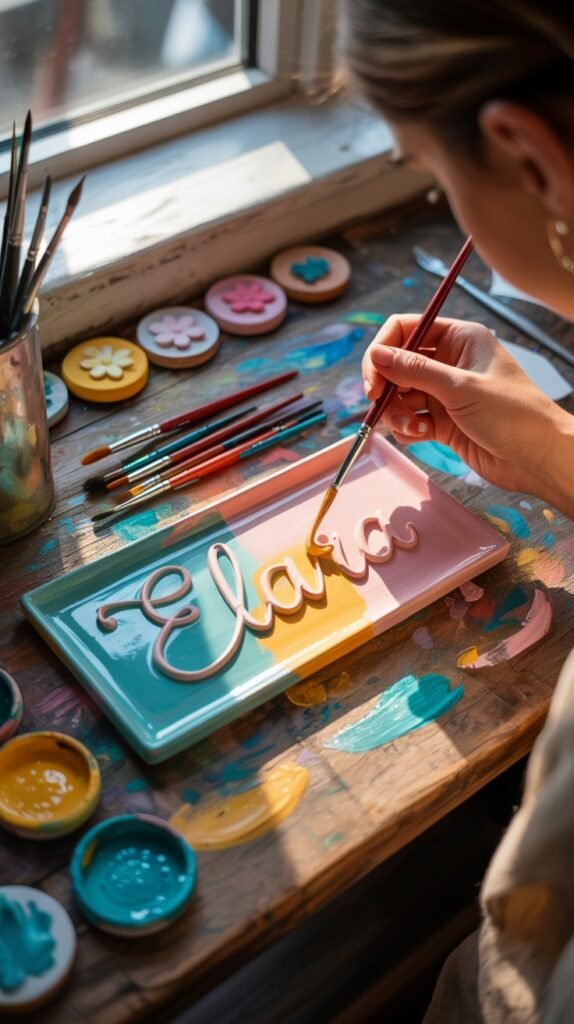
Then paint the clay pieces. Leaves in two shades of green, flowers in whatever colors you love, and the border in something that ties it all together.
Not sure about colors? Pick one main color, one accent and one neutral. Sage green, terracotta and cream is a lovely combo, and so is navy, mustard and white.
A little trick for depth is to dab a slightly darker shade into the corners and around the edges of the letters. It makes everything look raised and more finished.
Don’t overload your brush, too. Thin coats of paint look smoother and dry faster than one thick coat, and they won’t fill in the little texture lines you carved.
Let each layer dry before adding the next. If you rush it, the colors smear into each other and turn muddy, which is pretty much impossible to fix.
Use a thin brush for the small parts and go slow. Getting paint on the background by accident is normal, and you can touch it up later.
This step is done when the background and every clay piece are fully painted, with no white base coat peeking through anywhere.
Step 5. Add the Name Details and Personal Touches
Now make the name really stand out. Paint the letters in a strong color that contrasts with the background, like dark brown on cream or white on teal.
This is also where you add the little things that make it yours. Tiny stars, swirls, a sun for warmth, a small heart, or even a little clay pet sitting by the name.
If you like shiny touches, you could try a bit of Lippan style, which is a traditional Indian craft that uses little mirror pieces set into clay. A few small mirrors around the edge catch the light beautifully.
Mirror pieces have sharp edges, so handle them with care and keep them away from small kids. Press each one into a small ring of clay so the edge is covered.
Add a thin dark outline around the letters with a fine brush if they’re getting lost. It’s such a small step, but it makes the name easy to read from a few feet away.
Not confident painting letters? A paint pen gives you much more control than a brush for outlines and small details, and you can use it like a marker.
Step back and look at it from across the room. If something feels off, now’s the time to fix it, before you seal everything in.
When the name reads clearly and the little extras are on, you’re ready to seal. It should look exactly how you want it to look on the door.
Step 6. Seal and Hang Your Name Plate
Wait at least a full day after your last bit of paint. Then brush on a clear varnish or sealer over the whole plate, including the edges of the board.
The sealer protects the paint from dust, fingerprints and a bit of moisture. If your door gets sun or rain, use an outdoor varnish and do two or three thin coats.
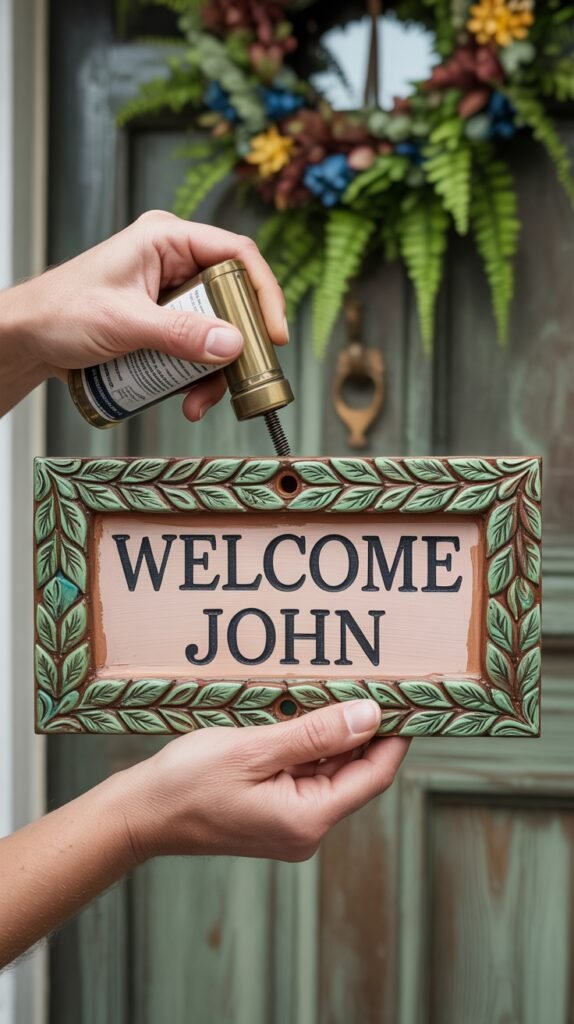
A glossy varnish makes the colors pop and is easier to wipe clean. Matte looks softer and more handmade, so it really just comes down to the look you like.
For hanging, it depends on the weight. A light name plate can go up with strong adhesive strips or hooks, while a heavy one needs screws into the wall or door frame.
Clean and dry the spot before you stick anything up. Adhesive strips really don’t hold on dusty paint.
Hang it at about eye level, so guests see it right away. And if you rent, check with your landlord before drilling into the door, or just stick with the adhesive option.
And that’s the last step. Once it’s hanging straight and feels solid, give it a day before anyone leans a bag or umbrella against it.
Making It With Kids
This is a really nice project to do together. Kids can roll the leaves, shape little balls for flowers and help paint the background, while you handle the knife and the glue.
Give them their own small board too. They’ll want to make their own sign anyway, and a little bedroom door plate with their name is a great first project.
Keep the craft knife and varnish out of reach, and do the sealing step yourself in a room with open windows. The smell can be strong, and little ones don’t need to breathe it in.
Common Mistakes
The biggest one is painting too soon. If the clay isn’t fully dry, the paint traps moisture inside and you get cracks a week later.
Another is making the clay too thick. Thick letters and big chunky flowers take forever to dry and crack more often, so keep pieces fairly thin and build up height with layers instead.
People also skip the paper sketch, then realize halfway through that the name doesn’t fit. Ten minutes of planning saves a lot of peeling off and redoing.
Using weak glue is a sneaky one. School glue might hold at first, but the pieces can pop off when the plate gets bumped or the weather changes.
Another one is skipping the white base coat. Colors painted straight onto clay often look patchy and dull, and you end up doing three extra coats to fix it.
And don’t put an unsealed plate outside. Air-dry clay softens with moisture, so sealing isn’t optional if it’s going anywhere near the rain.
Last one, and it’s easy to miss. Don’t hang it in a spot that gets harsh afternoon sun all day if you can avoid it, because bright colors fade faster there.
Caring for Your Name Plate
Dust it now and then with a soft dry cloth. Skip wet wipes and cleaning sprays, because they can wear down the sealer over time.
If it hangs outside, check it once or twice a year. When the surface starts to look dull or a little rough, add a fresh thin coat of outdoor varnish.
During heavy rain or a long rainy season, it’s honestly worth bringing it inside for a while. Even a sealed air-dry clay piece lasts much longer when it stays dry.
And if a corner gets chipped, you can fill it with a tiny bit of fresh clay. Let it dry, paint it to match, and seal that spot again.
You’re Done When
Your name plate is hanging straight, the name is easy to read from a few steps away, and nothing wobbles when you gently touch the decorations.
The paint should look even, the edges of the board should be sealed, and the whole thing should feel hard and dry. That’s pretty much it.
Take a photo of it on the door, too. Trust me, you’ll want to remember your first one when you make the next, because once people see it, someone always asks you to make one for them.
If something pops off later, don’t stress. Just glue it back on, touch up the paint, and add another coat of sealer over that spot.
Long story short, a handmade name plate is one of those projects that makes your home feel like yours every time you walk in. So whose name are you putting on yours?